Upgrading your ride with custom motorcycle lights not only enhances visibility but also adds a unique, personalized touch. Whether you’re looking for motorcycle LED lights for safety or style, proper installation ensures long-lasting performance and a seamless look. In this guide, we’ll walk you through the professional steps to install custom LED motorcycle lighting like a pro.

Step 1: Gather the Necessary Tools and Materials
Before starting, ensure you have all the required tools:
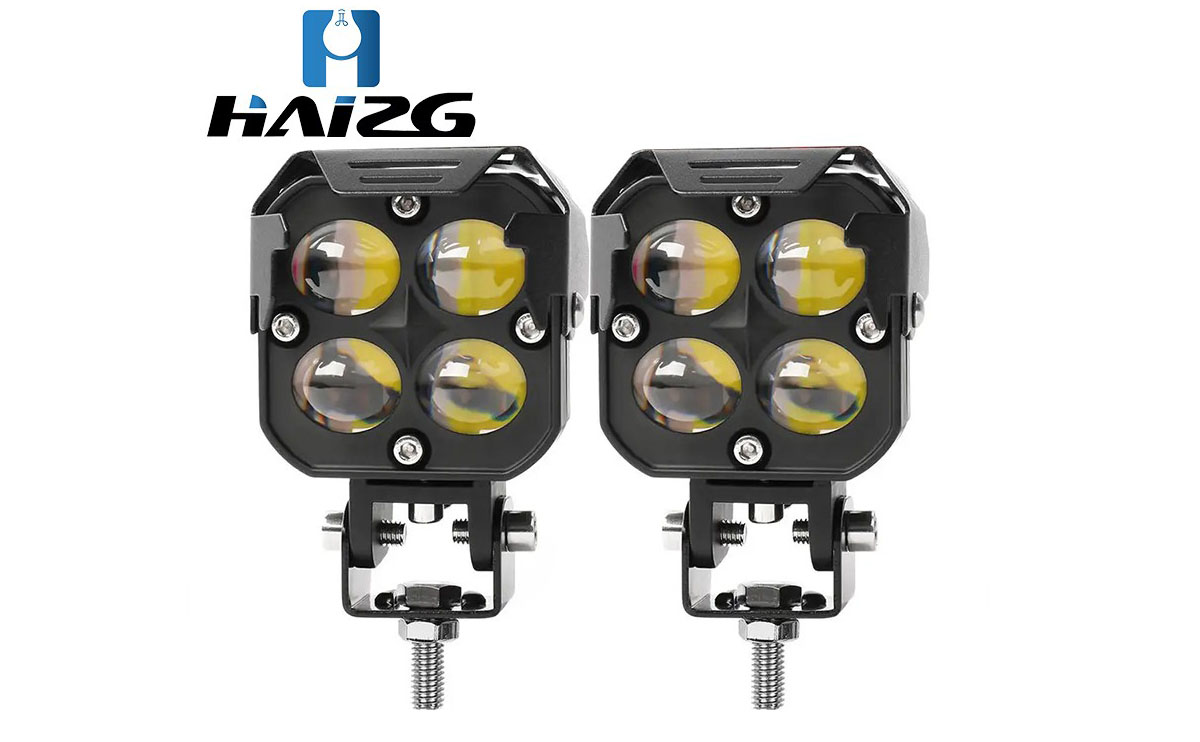
- A set of custom motorcycle lights (LED strips, headlights, or underglow kits)
- Wire cutters and strippers
- Electrical tape and heat shrink tubing
- A voltage tester
- Zip ties and mounting clips
- A soldering kit (optional for permanent wiring)
Having the right tools will make the installation process smoother and more secure.

Step 2: Plan the Light Placement
Determine where you want to install your motorcycle LED lights. Common locations include:
- Under the frame for an underglow effect
- Around the headlights for enhanced visibility
- Under the seat for a sleek, stylish look
- Along the wheel rims for a futuristic appearance
Ensure the lights do not obstruct moving parts or cause distractions while riding.
Step 3: Wire the Lights to Your Motorcycle’s Electrical System
- Disconnect the Battery – Always disconnect the battery before handling any electrical components.
- Locate the Power Source – Most LED kits connect to the motorcycle’s battery or fuse box. Choose a reliable 12V power source.
- Connect the Wires – Use a voltage tester to identify positive and negative terminals. Securely connect the wires using soldering or quick connectors.
- Secure the Wires – Route the wiring away from hot surfaces and moving parts. Use zip ties or mounting clips to keep them in place.

Step 4: Test the Lights Before Finalizing Installation
Before permanently securing everything, test the custom LED motorcycle lighting setup.
- Turn on the ignition and check if all lights function correctly.
- Inspect for flickering or uneven brightness.
- Adjust positioning if necessary.
Step 5: Secure the Lights and Protect the Wiring
Once satisfied with the placement and functionality, firmly attach the lights using adhesive backing or screws. Use heat shrink tubing and electrical tape to insulate all wire connections, preventing short circuits or water damage.

Step 6: Reconnect the Battery and Final Check
After finalizing the installation, reconnect the battery and test all lighting modes. Take your motorcycle for a short ride to ensure everything remains securely in place.
Final Thoughts
Installing custom motorcycle lights is an excellent way to enhance both visibility and aesthetics. With proper installation, your motorcycle LED lights will provide long-lasting performance while making your ride stand out. Whether you choose an underglow kit or a full lighting setup, following these professional steps ensures a clean, safe, and stylish modification. Would you like additional recommendations for the best custom LED motorcycle lighting kits? Let us know!
